Table of Contents
What Is Tile Setting?
Tile setting is the construction trade of installing tiles — ceramic, porcelain, natural stone, glass, or other materials — on floors, walls, countertops, showers, and other surfaces. It’s a skilled craft that combines precision measurement, surface preparation, adhesive application, and artistic layout to create durable, waterproof, and attractive finishes.
If you’ve ever stood in a beautifully tiled bathroom or admired an involved kitchen backsplash, a tile setter made that happen. The work looks simple from the finished side. From the installation side, it’s a trade that demands real knowledge and skill.
The Process
Surface Preparation
The most important step — and the one most DIYers underestimate. The surface receiving the tile (called the substrate) must be flat, clean, structurally sound, and appropriate for tile. Concrete, cement backer board, and specialized tile membranes are common substrates. Wood, drywall (in dry areas), and existing tile can work with proper preparation.
For wet areas like showers, waterproofing is critical. A membrane system (sheet membrane, liquid-applied membrane, or foam board) must prevent water from reaching the framing behind the tile. Failure here leads to mold, rot, and expensive repairs.
Layout
Before setting any tile, the setter plans the layout — determining where tiles start, where cuts will fall, and how the pattern flows. Good layout means cuts are symmetrical, grout lines are straight, and no awkward slivers of tile appear at edges.
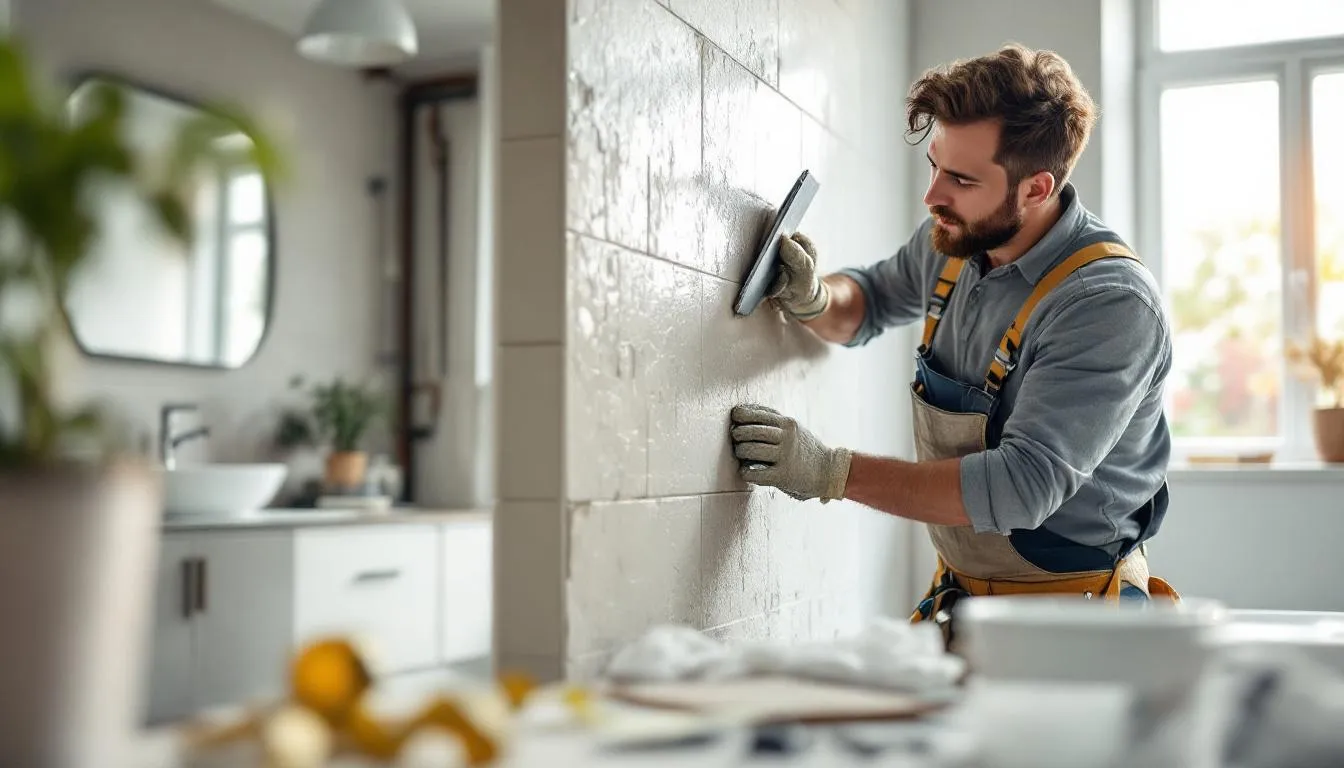
Setting
Tiles are adhered using thinset mortar — a mixture of cement, sand, and polymers that creates a strong, waterproof bond. The setter spreads thinset with a notched trowel (the notch size depends on the tile size), then presses each tile into the mortar bed, using spacers to maintain consistent grout joints.
Large-format tiles (12×24 inches and larger) require special techniques — the substrate must be very flat, and the setter must “back-butter” the tile (apply thinset to both the substrate and the tile back) to ensure full coverage.
Cutting
Tiles are cut using manual snap cutters (for straight cuts in ceramic), wet saws with diamond blades (for all tile types), and angle grinders (for curves and notches). Cutting is where precision matters — gaps and uneven cuts are immediately visible.
Grouting
After the tile has set (typically 24 hours), grout fills the joints between tiles. Grout can be sanded (for wider joints) or unsanded (for narrow joints). It’s mixed, spread with a rubber float, pressed into the joints, and cleaned from the tile surface with a damp sponge.
Sealing
Natural stone and some grout types require sealing to prevent staining and water absorption. Sealant is applied after the grout has cured (typically 48-72 hours).
Types of Tile
- Ceramic — Affordable, easy to cut, available in vast variety. Best for walls and light-traffic floors.
- Porcelain — Denser, harder, more water-resistant. Suitable for all applications including outdoor.
- Natural stone (marble, granite, slate, travertine) — Beautiful but requires sealing and more careful installation.
- Glass — Primarily for backsplashes and accents. Translucent quality creates unique visual effects.
- Large format — Tiles 15 inches or larger on any side. Creates a modern, minimal-grout-line look but demands very flat substrates.
Tile Setting as a Career
The Bureau of Labor Statistics projects steady demand for tile setters, with a median salary of approximately $48,000-55,000 (experienced setters earn significantly more). The trade offers independence — many tile setters are self-employed — and the satisfaction of visible, tangible results.
The skill gap is real. Finding a truly excellent tile setter is harder than most homeowners expect. The difference between average and exceptional tile work is immediately visible, and quality installers stay busy through referrals.
Why Good Tile Work Matters
Properly installed tile lasts decades — often the lifetime of the building. Improperly installed tile fails quickly: cracked grout, loose tiles, water damage, and lippage (uneven tile edges) are signs of poor workmanship.
The difference between mediocre and excellent tile work often comes down to preparation and patience. Rushing surface prep, skipping waterproofing steps, or accepting a poor layout to save time always shows in the finished product. In few trades is the saying “measure twice, cut once” more literally applicable.
Frequently Asked Questions
Is tile setting difficult to DIY?
Small, simple projects (a backsplash or replacing a few tiles) are manageable for motivated beginners. Large projects — shower installations, full floors, heated tile systems — require significant skill. The consequences of poor installation are serious: water damage from improperly waterproofed showers can cost thousands to repair. For anything involving waterproofing, professional installation is strongly recommended.
What is the difference between ceramic and porcelain tile?
Both are made from clay fired at high temperatures, but porcelain is fired at higher temperatures (2,200°F+) and made from finer, denser clay. Porcelain is harder, denser, more water-resistant, and more durable — but also more difficult to cut and more expensive. Ceramic works well for walls and light-traffic floors. Porcelain is better for high-traffic areas, outdoor use, and wet environments.
How long does it take to learn tile setting professionally?
Most tile setters learn through apprenticeships lasting 2-4 years, combining classroom instruction with on-the-job training. Basic competency develops within the first year, but mastering complex installations (shower systems, large-format tile, elaborate patterns, natural stone) takes many years of experience.
Further Reading
Cite this article
APA
WhatIs.site. (2025). What Is Tile Setting?. Retrieved May 27, 2026, from https://whatis.site/tile-setting MLA
"What Is Tile Setting?." WhatIs.site, July 15, 2025, https://whatis.site/tile-setting. Accessed May 27, 2026. Chicago
WhatIs.site. "What Is Tile Setting?." Last modified May 12, 2026. https://whatis.site/tile-setting. HTML
<a href="https://whatis.site/tile-setting">What Is Tile Setting?</a> — WhatIs.site Related Articles
What Is Civil Engineering?
Civil engineering designs and builds infrastructure like roads, bridges, and buildings. Learn about its branches, history, and how it shapes daily life.
arts amp cultureWhat Is Architecture?
Architecture is the art and science of designing buildings and structures. Learn about architectural styles, key principles, famous architects, and careers.
everyday conceptsWhat Is Stonemasonry?
Stonemasonry is the craft of cutting, shaping, and building with stone. Learn about the techniques, history, and types of masonry work still practiced today.
arts amp cultureWhat Is Interior Design?
Interior design is the art and science of creating interior spaces that are functional, safe, and aesthetically pleasing.
everyday conceptsWhat Is Construction?
Construction is the process of building structures and infrastructure. Learn about methods, trades, project management, and the industry's massive scale.