Table of Contents
What Is Telescope Making?
Telescope making is the craft and practice of building optical telescopes by hand, typically involving grinding and polishing glass mirror blanks into precise optical surfaces, then assembling them into functional instruments for astronomical observation. The tradition dates back centuries and remains one of the few areas where a dedicated amateur can produce equipment rivaling or exceeding commercial quality.
Why Would Anyone Build a Telescope from Scratch?
Fair question. You can buy a perfectly good telescope online for a few hundred bucks. So why would someone spend weeks hunched over a glass disk, rubbing it against another glass disk, covered in gritty slurry?
A few reasons. First, the economics actually work out — a homemade 8-inch reflector costs roughly half what you’d pay retail, and larger apertures save even more. A 16-inch commercial Dobsonian might run $2,000-$3,000, while building one yourself could cost $600-$900 in materials.
But honestly, cost isn’t the main driver. The real motivation is that you made it. There’s something deeply satisfying about pointing a telescope at Saturn and knowing that every photon hitting your retina bounced off a mirror you shaped with your own hands. The surface you polished is accurate to within 1/8 of a wavelength of visible light — about 70 nanometers. You did that. With glass, grit, and patience.
And then there’s the optical quality argument. Mass-produced mirrors are ground by machines optimized for speed and consistency. They’re good. But a patient amateur who tests obsessively can produce a mirror that’s genuinely excellent — 1/10 wave or better. That’s a real thing. Amateur telescope makers regularly produce optics that outperform their commercial equivalents.
A Brief History — From Galileo to Your Garage
The telescope was invented around 1608, probably by Hans Lippershey, a Dutch spectacle maker (though several others claimed priority). Galileo heard about it in 1609, built his own improved version without ever seeing the original, and promptly discovered the moons of Jupiter. That’s telescope making in a nutshell — hear about something cool, figure out how to build it yourself.
Early telescopes were refractors — they used lenses to bend light. Isaac Newton built the first practical reflecting telescope in 1668, using a curved metal mirror instead of a lens. This was a breakthrough because mirrors don’t suffer from chromatic aberration, that annoying rainbow fringing that plagues simple lens designs.
For centuries, telescope making remained the province of professional opticians and wealthy gentlemen scientists. William Herschel, who discovered Uranus in 1781, cast and ground his own metal mirrors — including a monster 48-inch speculum metal mirror for his 40-foot telescope. The thing weighed over a ton.
The modern amateur telescope making movement really took off in the 1920s and 1930s. Russell Porter, an engineer and artist in Springfield, Vermont, started teaching neighbors how to grind their own mirrors. This led to the founding of the Springfield Telescope Makers in 1920 and their annual Stellafane convention, which continues today as the oldest and most prestigious amateur telescope gathering in North America.
Albert Ingalls popularized the craft through his “Amateur Telescope Making” column in Scientific American, starting in 1925. His three-volume book series Amateur Telescope Making became the bible of the hobby and remains in print.
Then came John Dobson. In the 1960s, this former monk figured out how to build large, functional telescopes cheaply using readily available materials — porthole glass for mirrors, cardboard tubes called Sonotubes, and simple plywood altazimuth mounts. The “Dobsonian” design democratized large-aperture astronomy. Suddenly, a 12-inch or even 16-inch telescope was within reach of ordinary people. Before Dobson, those apertures were essentially professional-only territory.
The Mirror — Where the Magic Happens
The heart of a reflecting telescope is its primary mirror. Everything else — the tube, the mount, the eyepiece — exists to hold that mirror in position and let you look at what it collects. So let’s talk about how you actually make one.
Starting with Glass
You begin with a mirror blank — a disk of glass, typically Pyrex (borosilicate glass) for its low thermal expansion. Common starter sizes are 6 inches or 8 inches in diameter, about 1 inch thick. You can buy blanks from suppliers like Newport Glass, Willmann-Bell, or various online vendors for $30-$100 depending on size.
You also need a tool — another glass disk of the same diameter that you’ll use to grind against the mirror blank. Some people use a ceramic tile tool instead of glass, especially for larger mirrors.
Rough Grinding — Shaping the Curve
The first step is rough grinding, where you create the concave curve in the mirror blank. You place the mirror blank on top (face down) on the tool, sprinkle silicon carbide grit (#80, the coarsest) mixed with water between them, and push the mirror back and forth across the tool in overlapping strokes.
The physics are elegant. When you push the mirror forward across the tool, the abrasive grit rolls between the surfaces and removes more glass from the center of the mirror and the edge of the tool. This naturally creates a concave curve in the mirror and a matching convex curve in the tool. It’s almost impossible to get it wrong — the geometry guarantees a spherical curve will emerge.
You’re aiming for a specific depth of curve called the sagitta. For a typical f/8 mirror (8-inch diameter, 64-inch focal length), the sagitta is only about 0.06 inches — roughly the thickness of a dime. You measure it with a spherometer or a simple straightedge-and-feeler-gauge setup.
Rough grinding with #80 grit takes a few hours for a 6-inch mirror. You’ll go through several charges of grit, adding fresh abrasive and water every few minutes as the old grit breaks down.
Fine Grinding — Smoothing It Out
Once you’ve reached the correct curve depth, you progress through successively finer grits: #120, #220, #320, #500, and finally #1000 or #1200. Each grit removes the scratches left by the previous one and produces a smoother surface.
This is where patience matters. You must completely remove all pits from the previous grit before moving to the next one. A single #80 pit left behind will show up as a scratch in the finished mirror. Most beginners spend about twice as long on fine grinding as they should — but that’s actually fine. Spending extra time is way better than moving to the next grit too early.
By the time you reach #1000 grit, the mirror surface looks translucent and almost polished. You can faintly see through the glass. The pits are microscopic — maybe 5 microns deep. But you’re not done. Not even close.
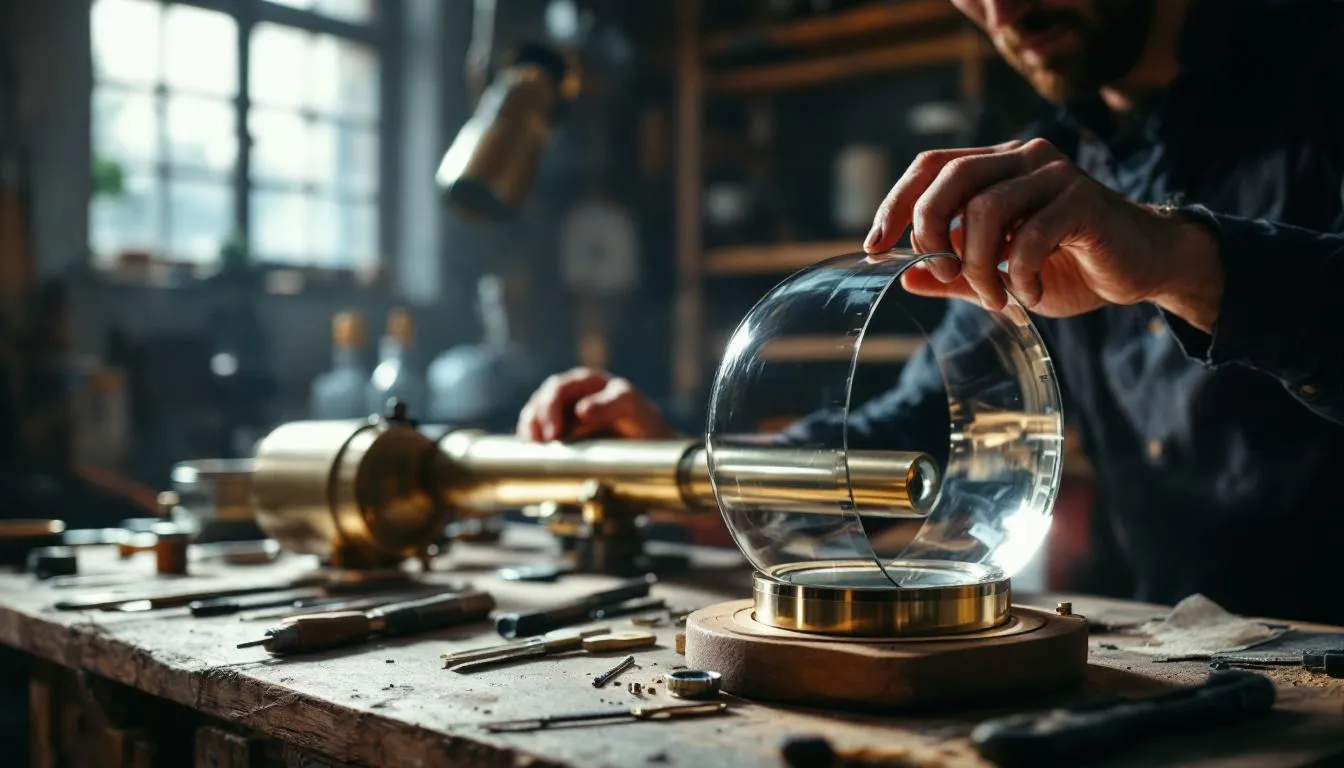
Polishing — From Frosted to Mirror
Polishing requires a completely different approach. You create a pitch lap — a layer of optical pitch (a refined pine tar product) poured over the tool and pressed with a pattern of channels. The pitch is warm and slightly flexible, conforming to the mirror’s curve.
You apply polishing compound — usually cerium oxide or jeweler’s rouge — mixed with water on the pitch lap, then stroke the mirror across it using the same back-and-forth motions as grinding. But instead of abrading the glass, the polishing compound operates at a molecular level, actually flowing the glass surface smooth through a process that’s still not fully understood.
Polishing a 6-inch mirror takes roughly 4-8 hours. You’ll know it’s working when the surface becomes reflective. Gradually, the frosted gray appearance transforms into a clear, mirror-like surface. It’s genuinely exciting the first time you see your reflection staring back from a piece of glass you’ve been working on for weeks.
Figuring — The Hard Part
Here’s where telescope making goes from craft to art. A spherical mirror isn’t good enough for a telescope — it produces an aberration called spherical aberration, where light from the edge of the mirror focuses at a different point than light from the center. You need a parabolic curve.
The difference between a sphere and a parabola, on a 6-inch f/8 mirror, is about 140 nanometers at the edge. That’s 0.00014 millimeters. You need to remove this much glass — and only from specific zones of the mirror.
You do this by modifying your polishing strokes. Longer strokes deepen the center; shorter strokes work the edges. You test constantly, using a device called a Foucault tester — basically a point light source and a knife edge positioned at the mirror’s center of curvature. The shadows you see tell you exactly where the surface is too high or too low.
The Foucault test was invented in 1858 by French physicist Leon Foucault (yes, the same one with the pendulum). It can detect surface errors as small as 1/20 of a wavelength of light. You build one from an LED, a razor blade, and a measuring scale — total cost maybe $15-$20.
Figuring is iterative. Test, polish a few strokes, test again. A session might involve dozens of tests. Experienced mirror makers can figure a 6-inch mirror in an evening. First-timers might take weeks. The frustrating part is that correcting one zone can throw off another. It’s a balancing act.
When the Foucault test shows a smooth, even gray across the entire mirror — no shadows, no zones — you’ve got a parabola. Your mirror is done.
Beyond the Mirror — Building the Rest
A mirror by itself is useless. You need a way to hold it, point it at things, and actually look through it.
The Tube
The simplest approach is a Sonotube — a cardboard concrete-forming tube available at construction supply stores. An 8-inch inner diameter Sonotube costs maybe $20 for an 8-foot length. You cut it to the right length (focal length plus a bit extra), paint the inside flat black to absorb stray light, and mount the mirror at the bottom.
More ambitious builders use sheet metal, fiberglass, or even carbon fiber tubes. Some build truss-tube designs — an open framework that’s lighter and more portable than a solid tube but requires a light shroud to keep stray light out.
The Secondary Mirror and Focuser
Newtonian reflectors use a small flat secondary mirror (called a diagonal) mounted at 45 degrees near the top of the tube. This redirects the light cone out the side of the tube to an eyepiece held in a focuser — a small mechanism that lets you slide the eyepiece in and out for sharp focus.
You typically buy the secondary mirror and focuser rather than making them. A 1.5-inch secondary for an 8-inch telescope costs $20-$40. A basic rack-and-pinion focuser runs $30-$60. The secondary is held in a spider — a set of thin metal vanes stretched across the tube opening.
The Mount
John Dobson’s great insight was that you don’t need an equatorial mount to observe the sky. His altazimuth design — essentially a lazy Susan for horizontal rotation and a simple pivot for up-down motion — is cheap, stable, and intuitive. You push the telescope where you want to look. That’s it.
A Dobsonian mount is made from plywood. The rocker box holds the tube and pivots on a ground board using Teflon pads on a Formica surface. The friction is adjustable — tight enough that the telescope stays where you point it, loose enough to move smoothly. Total materials cost: $30-$50 in plywood, Teflon pads, and hardware.
Equatorial mounts are fancier. They have one axis aligned with Earth’s rotation axis, so you can track objects across the sky by turning a single knob (or motor). They’re better for astrophotography but more complex and expensive to build. Most first-time telescope makers stick with a Dobsonian mount.
Testing and Aligning Your Finished Telescope
You’ve ground the mirror, built the tube, and assembled the mount. Now comes the moment of truth — first light.
Before pointing at the sky, you need to collimate the telescope — align the mirrors so the optical axis is straight. This involves adjusting the primary mirror’s tilt (using three push-pull bolts in the mirror cell) and the secondary mirror’s position and angle. You can do rough collimation by eye, looking down the focuser tube, then fine-tune on a star.
The star test is the ultimate quality check. Point your telescope at a moderately bright star and carefully defocus in both directions. You should see concentric rings — the diffraction pattern. If the rings are symmetric and evenly illuminated on both sides of focus, your mirror is good. Asymmetric rings indicate specific problems: turned-down edge, zones, astigmatism.
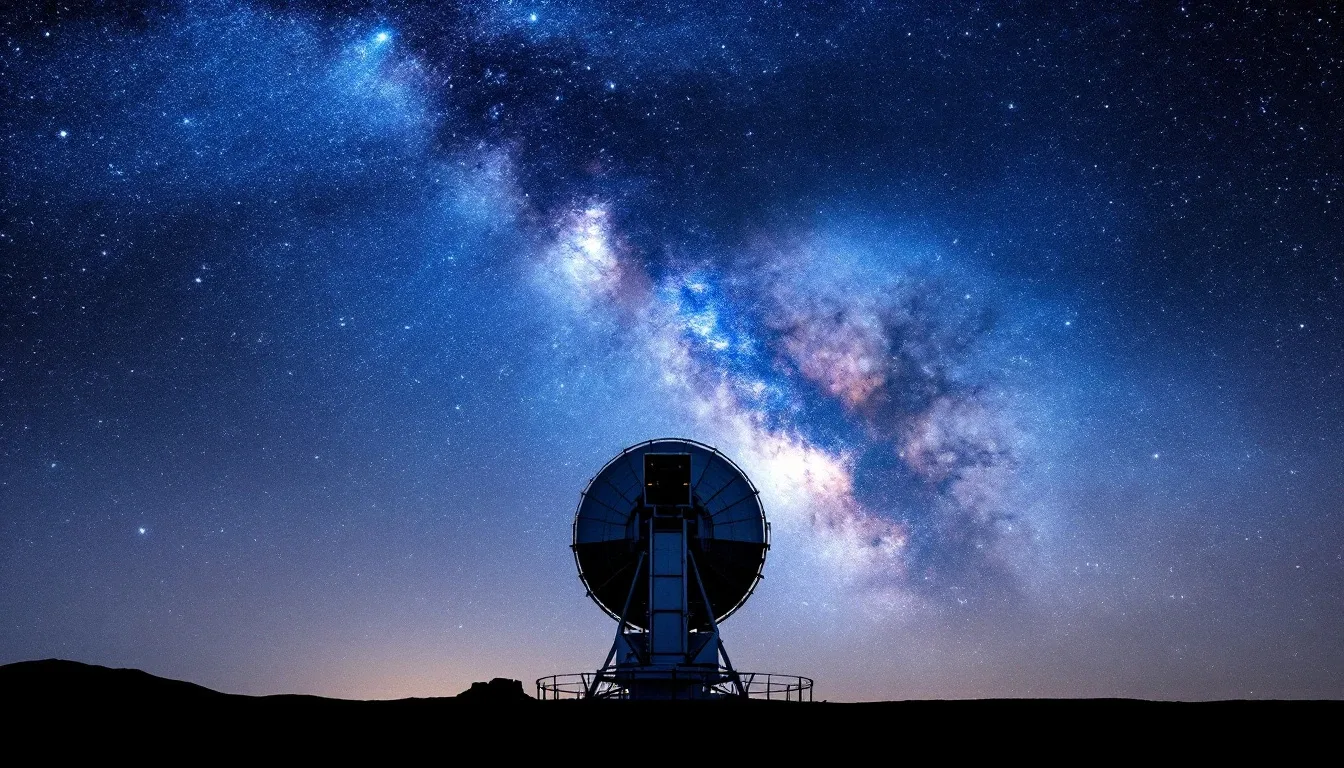
A well-made 8-inch telescope on a clear night will show you Saturn’s rings, Jupiter’s cloud bands, the Orion Nebula’s wispy tendrils, thousands of stars in globular clusters, and galaxies tens of millions of light-years away. With a mirror you ground yourself, these views take on a different character entirely.
The Community — You’re Not Alone in This
Telescope making has a surprisingly active community. Local astronomy clubs often have mirror-grinding workshops where experienced makers mentor newcomers. The equipment is shared — grits, pitch, testing equipment — and the collective knowledge is enormous.
Stellafane, held every summer in Springfield, Vermont, remains the premier gathering. Hundreds of amateur telescope makers bring their instruments for judging, attend talks and workshops, and observe together. The convention has run continuously since 1926 (with a few wartime exceptions), making it one of the longest-running scientific gatherings in America.
Online communities have expanded access dramatically. Forums like CloudyNights.com and the r/telescopes subreddit have active mirror-making discussion threads. YouTube tutorials walk through every step. You can even ship your mirror to experienced testers who’ll provide detailed interferometric analysis for a modest fee.
The ATM (Amateur Telescope Making) community also overlaps heavily with the broader amateur astronomy world. Organizations like the Astronomical League and local astronomy clubs welcome builders and observers alike. There’s a natural progression — you make a telescope, then you need to learn the sky to use it, which leads you into observing programs, star parties, and sometimes even citizen science projects.
Going Big — Advanced Projects
Once you’ve made a 6-inch or 8-inch mirror, you might catch the aperture fever that afflicts many amateur astronomers. More aperture means more light, which means fainter objects and finer detail.
Some amateurs build 20-inch, 24-inch, or even 30-inch+ telescopes. These are serious instruments — a 30-inch mirror weighs over 50 pounds and requires a ladder to reach the eyepiece. The largest amateur-made telescope ever built is debatable, but several amateurs have completed mirrors exceeding 40 inches in diameter.
Large mirrors present unique challenges. Thermal equilibration takes longer — a thick glass mirror needs hours to reach ambient temperature, and temperature gradients distort the image. Many large-mirror builders use thin blanks or exotic materials like quartz or Astro-Sitall (a Russian glass-ceramic with near-zero thermal expansion).
The mount engineering scales up dramatically too. A 20-inch truss Dobsonian might weigh 100-200 pounds and need to break down into manageable pieces for transport. Some builders design their telescopes around the size of their car’s cargo area.
There’s also the world of specialty telescope making. Gregorian and Cassegrain designs use a secondary curved mirror to fold the light path, producing a more compact telescope. Schmidt-Cassegrain and Ritchey-Chretien designs correct for off-axis aberrations, making them better for astrophotography. Building these requires making two curved mirrors and getting them to work together — a significant step up in difficulty.
Mirror Coatings and Maintenance
A freshly polished glass mirror reflects about 4% of light from its surface — basically useless as a telescope mirror. You need a reflective coating, and for optical mirrors, that means aluminum.
Most amateur mirror makers send their finished mirrors to a coating service. The mirror goes into a vacuum chamber, a small piece of aluminum wire is heated until it vaporizes, and the aluminum atoms settle on the mirror surface in an even layer. The whole process takes minutes, and the cost is typically $20-$50 for mirrors up to 12 inches. Some larger astronomy clubs own their own vacuum coating chambers.
Aluminum coatings typically last 3-10 years depending on your climate and storage conditions. Humid environments degrade coatings faster. When the coating degrades, you strip it with ferric chloride solution and have the mirror re-coated. The glass itself lasts essentially forever.
Some amateurs apply a protective overcoat of silicon dioxide (SiO2) on top of the aluminum. This extends coating life significantly but adds cost.
The Digital Age Hasn’t Killed This Craft
You might think that with cheap mass-produced telescopes flooding the market, amateur telescope making would fade away. It hasn’t. If anything, it’s experiencing a quiet resurgence.
Part of this is the maker movement — the same impulse that drives people to build 3D printers, brew beer, and grow their own food. There’s a cultural pushback against pure consumption. Making things matters to people.
Part of it is practical. The largest apertures are still cheapest when homemade. And computerized telescope mounts — which you can build with Arduino boards and stepper motors — have added a new dimension to the hobby. Some makers are combining traditional mirror-grinding with modern electronics, creating telescopes with hand-figured optics and computer-controlled tracking.
There’s also an educational angle. Schools and science centers use telescope making as a teaching tool. Grinding a mirror teaches optics, geometry, and patience. Building the mount teaches mechanical engineering. Using the finished telescope teaches astronomy. It’s a complete STEM project wrapped in a genuinely useful outcome.
Getting Started — What You Actually Need
If you want to try telescope making, here’s the honest minimum:
Materials for a 6-inch f/8 mirror:
- 6-inch Pyrex mirror blank and tool: ~$40-$60
- Silicon carbide grit set (#80 through #1000): ~$30
- Optical pitch: ~$15
- Cerium oxide polishing compound: ~$15
- Foucault tester parts (LED, razor blade, wood): ~$15-$20
For the telescope itself:
- Sonotube or equivalent: ~$15-$25
- Secondary mirror: ~$25-$35
- Focuser: ~$30-$60
- Plywood for Dobsonian mount: ~$30-$50
- Hardware, paint, miscellaneous: ~$30-$50
Total: roughly $250-$400
What you need to know: Not much, to start. The process is well documented. Jean Texereau’s How to Make a Telescope is the classic text — methodical, thorough, and reassuring. Mel Bartels’ website (bbastrodesigns.com) is an excellent online resource. And finding a local mentor through an astronomy club is probably the single best thing you can do.
What you need for workspace: A sturdy table or barrel at comfortable working height, running water nearby, and a place where glass dust and grit won’t cause problems. A garage or basement works perfectly. The Foucault tester needs a dark hallway or room about 10-15 feet long.
Time commitment: Plan on 40-80 hours spread over 2-4 months for your first complete telescope. Some people finish faster, some slower. The grinding and polishing can’t really be rushed — but it can absolutely be done in stolen hours, an evening here, a Saturday morning there.
The first time you aim your finished telescope at the moon and see crater walls casting sharp shadows across the surface — through a mirror you ground with your own hands — you’ll understand why this craft has endured for a hundred years. Some things are worth doing the hard way.
Frequently Asked Questions
How much does it cost to make a telescope?
A basic 6-inch Newtonian reflector can be built for around $200-$400 in materials, including the mirror blank, grinding compounds, tube, and mount hardware. Compare that to buying a similar commercial telescope for $500-$1,000+. Larger mirrors cost more — an 8-inch blank runs about $50-$80, while a 12-inch blank can cost $150+. The real investment is time: expect 40-80 hours for your first mirror.
Can a homemade telescope compete with commercial ones?
Absolutely. A well-made amateur mirror can match or exceed the optical quality of mass-produced commercial telescopes. John Dobson's homemade designs proved this in the 1960s. The key advantage is that you control the figuring process, testing the mirror repeatedly until it meets your standards. Many amateur-made telescopes have been used for serious astronomical research, including variable star observation and asteroid tracking.
What is the hardest part of making a telescope?
Most builders say figuring the mirror — bringing it from a roughly spherical shape to a precise parabola — is the most challenging step. The surface must be accurate to within a fraction of a wavelength of light (about 1/8 of 550 nanometers). That's shaping glass to an accuracy of roughly 70 nanometers. Testing with a Foucault tester and interpreting shadow patterns takes practice, but thousands of amateurs have mastered it.
How long does it take to grind a telescope mirror?
For a first-time builder working on a 6-inch mirror, expect roughly 20-40 hours of grinding, polishing, and figuring spread over several weeks or months. Experienced mirror makers can complete the same mirror in 10-15 hours. Larger mirrors take proportionally longer — a 12-inch mirror might need 60-100 hours. Most of the time is spent in the final figuring stage, not the initial rough grinding.
Do I need special tools to make a telescope?
The basic tools are surprisingly simple: two glass disks (mirror blank and tool), silicon carbide grits in several grades, polishing pitch, cerium oxide or rouge for polishing, and a Foucault tester (which you can build for under $20). You'll also need a sturdy barrel or post to work on. No power tools are required for mirror making — it's all done by hand. The mount and tube assembly require more standard workshop tools.
Further Reading
Cite this article
APA
WhatIs.site. (2025). What Is Telescope Making?. Retrieved May 27, 2026, from https://whatis.site/telescope-making MLA
"What Is Telescope Making?." WhatIs.site, July 15, 2025, https://whatis.site/telescope-making. Accessed May 27, 2026. Chicago
WhatIs.site. "What Is Telescope Making?." Last modified May 12, 2026. https://whatis.site/telescope-making. HTML
<a href="https://whatis.site/telescope-making">What Is Telescope Making?</a> — WhatIs.site Related Articles
What Is Astronomy?
Astronomy is the scientific study of celestial objects, space, and the universe. Learn about stars, planets, galaxies, and the methods astronomers use.
scienceWhat Is Astrophysics?
Astrophysics applies physics to understand how stars, galaxies, and the universe work. Learn about its methods, discoveries, and biggest unsolved questions.
scienceWhat Is Acoustics?
Acoustics is the science of sound: how it's produced, transmitted, and received. Learn about sound waves, architectural acoustics, noise control, and more.
technologyWhat Is an Algorithm?
Algorithms are step-by-step instructions for solving problems. Learn how they work, why they matter, and how they shape everything from search engines to AI.
technologyWhat Is Alternative Energy?
Alternative energy comes from sources other than fossil fuels. Learn about solar, wind, geothermal, and other clean options reshaping how we power the world.