Table of Contents
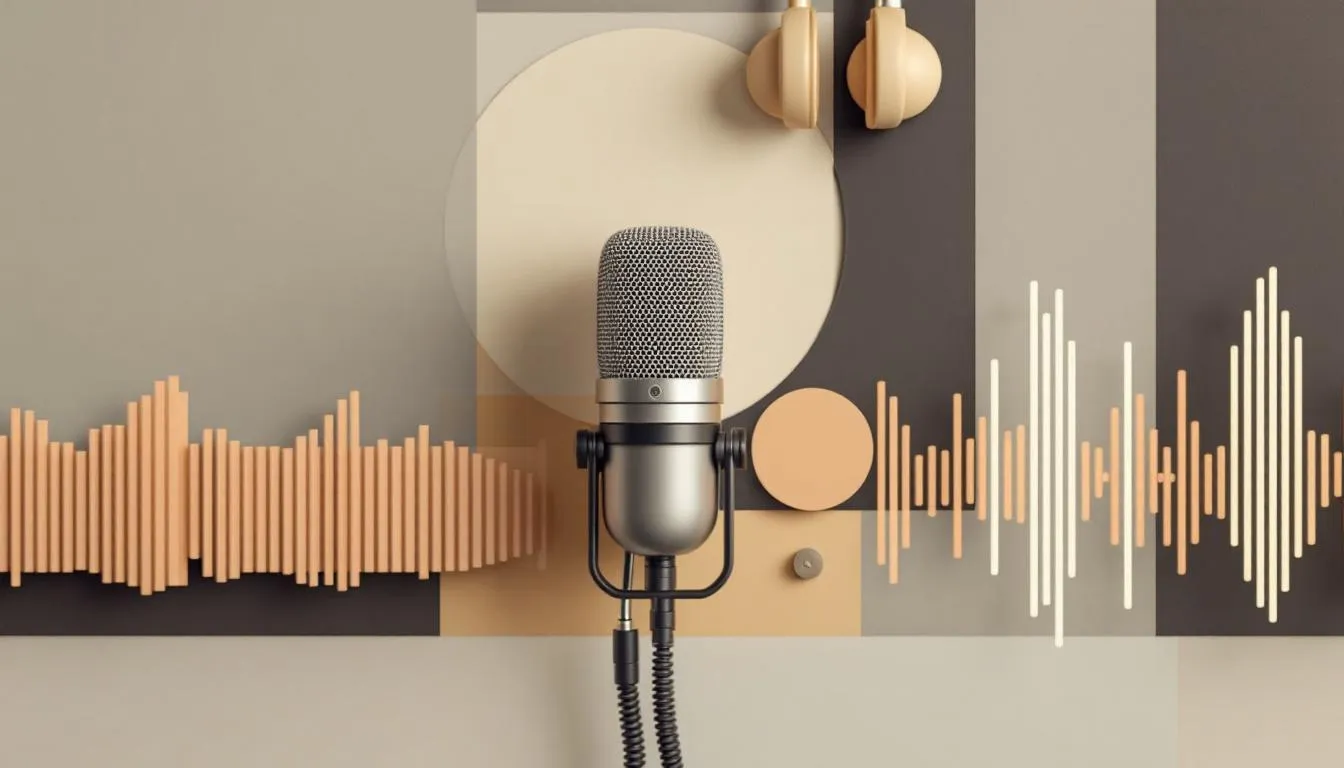
What Is Sound Engineering?
Sound engineering is the technical discipline of capturing, processing, mixing, and reproducing audio. Sound engineers are the people behind the mixing console who make sure a band’s live performance sounds clear to every seat in the venue, that a podcast recording has no background hum, and that the final master of an album translates well from studio monitors to car speakers to earbuds.
The field sits at the intersection of physics, electronics, music, and psychoacoustics — the study of how humans perceive sound.
The Signal Chain: From Air to Speakers
Every audio production follows a signal chain — the path sound takes from its source to the listener’s ears. Understanding this chain is the foundation of all sound engineering.
The Acoustic Source
Everything starts with vibration. A singer’s vocal cords vibrate. A guitar string oscillates. A drum head resonates. These vibrations create pressure waves in the air — what we call sound. The character of these waves — their frequency content, amplitude envelope, harmonic structure — is what makes a violin sound different from a trumpet even when they play the same note.
Sound engineers can’t change the laws of acoustics, but they can choose where and how to capture these waves. Microphone placement is arguably the single most important decision in recording. Move a mic six inches, and the captured sound changes dramatically.
Microphones: Transducers In
A microphone converts acoustic energy (pressure waves) into electrical energy (voltage variations). Three main types dominate professional audio:
Active microphones use a diaphragm attached to a coil of wire suspended in a magnetic field. Sound waves move the diaphragm, which moves the coil, which generates a tiny electrical signal by electromagnetic induction. They’re rugged, handle high sound pressure levels without distortion, and don’t need external power. The Shure SM57 and SM58, both introduced in the 1960s, are still industry standards — probably the most-used microphones in history.
Condenser microphones use a thin, electrically charged diaphragm positioned near a fixed backplate. Sound waves move the diaphragm, changing the capacitance, which produces an electrical signal. They’re more sensitive and capture more high-frequency detail than dynamics, but they’re fragile and require phantom power (typically 48 volts supplied by the mixing console or preamp). Large-diaphragm condensers like the Neumann U87 are the go-to for vocal recording.
Ribbon microphones use a thin metal ribbon suspended in a magnetic field. They’re prized for their smooth, natural sound — especially on brass, strings, and guitar amplifiers. Older ribbons were extremely fragile (a strong gust of wind could stretch the ribbon), but modern designs are more durable.
Polar Patterns
Every microphone has a polar pattern describing its sensitivity to sound from different directions:
- Cardioid picks up sound mainly from the front, rejecting the rear. Most live vocal mics are cardioid.
- Omnidirectional captures sound equally from all directions. Great for ambient recording but picks up everything — including room noise.
- Figure-8 (bidirectional) picks up front and back, rejecting the sides. Used for mid-side stereo recording and ribbon mics.
- Hypercardioid and supercardioid are tighter versions of cardioid, with more front focus but a small rear lobe.
Choosing the right polar pattern is about controlling what you don’t want to record as much as what you do.
Preamps and Gain Staging
The signal coming out of a microphone is tiny — typically a few millivolts. A preamplifier boosts this to line level (about 1 volt), where it can be processed by other equipment without picking up noise.
Gain staging — setting the right signal level at each point in the chain — is one of those invisible skills that separates good engineers from mediocre ones. Too little gain and your signal drowns in the noise floor. Too much and it clips (distorts). The goal is to keep the signal well above the noise but well below clipping at every stage.
In the analog world, gain staging required constant attention. In digital audio, the math is more forgiving — modern 24-bit converters have a theoretical active range of 144 dB — but the principle remains the same: keep your levels healthy.
Analog-to-Digital Conversion
Unless you’re working in a purely analog studio (rare these days), the analog signal from the preamp gets converted to digital by an analog-to-digital converter (ADC). This process samples the continuous waveform at regular intervals — 44,100 times per second for CD-quality audio, 48,000 for video, or 96,000 for high-resolution recording.
Each sample is quantized — assigned a numerical value representing the signal’s amplitude at that instant. With 24-bit quantization, each sample can be one of about 16.7 million possible values, providing enough resolution that quantization noise is essentially inaudible.
The Nyquist theorem (published by Harry Nyquist in 1928) guarantees that a sample rate of 44.1 kHz can perfectly reconstruct any frequency up to 22.05 kHz — above the 20 kHz ceiling of human hearing. This is why 44.1 kHz works for music: it captures everything we can hear, mathematically proven.
Recording Techniques
How you capture sound shapes the entire production. Bad recording decisions can’t be fully fixed in mixing — or as engineers say, “you can’t polish a turd.”
Room Acoustics
The room you record in colors every sound captured within it. Hard, parallel walls create flutter echoes. Large, reflective spaces add long reverberation. Small, untreated rooms produce comb filtering — a phasey, hollow sound caused by short reflections interfering with the direct signal.
Professional recording studios use acoustic treatment — absorbers, diffusers, and bass traps — to control room reflections. The goal isn’t to eliminate all reflections (that creates a “dead” room that feels unnatural) but to manage them. A well-designed live room has enough early reflections for warmth and ambiance, with controlled decay and no problematic modes.
The control room — where the engineer sits — aims for accuracy. Reflections are minimized so the engineer hears what’s actually in the recording, not what the room adds. Monitor speakers are positioned in an equilateral triangle with the listening position, aimed slightly inward. The room’s frequency response is measured and corrected with acoustic treatment and sometimes electronic room correction.
Stereo Miking
Two ears, two speakers, one soundstage. Stereo recording techniques create a sense of width and spatial placement using two microphones:
Spaced pair (AB) places two omnidirectional mics several feet apart. The time differences between them create a wide, spacious sound. Risk: a hollow center image.
Coincident pair (XY) crosses two cardioid mics at the same point, angled 90 to 135 degrees apart. The level differences between them create imaging. Advantage: mono-compatible, since there are no time delays. Disadvantage: narrower than spaced pair.
Mid-side (MS) uses one cardioid mic (mid) pointing forward and one figure-8 mic (side) pointing sideways. Decoding in the console lets you adjust stereo width after recording — incredibly flexible.
Blumlein pair crosses two figure-8 mics at 90 degrees. Named after Alan Blumlein, who pioneered stereo recording at EMI in the 1930s. Produces a remarkably natural, immersive sound in good rooms.
Multitrack Recording
Recording each instrument to its own track — multitrack recording — was the breakthrough that transformed popular music production. Les Paul experimented with sound-on-sound recording in the 1940s. Ampex introduced 8-track recorders in the 1950s. By the late 1960s, the Beatles were using 4-track and 8-track machines to create albums that couldn’t possibly have been recorded live.
Today, digital audio workstations (DAWs) like Pro Tools, Logic Pro, Ableton Live, and Reaper offer unlimited tracks. A modern pop production might use 100 or more tracks — individual drums, multiple vocal takes, layers of synthesizers, effects returns, and auxiliary busses.
Mixing: Where Art Meets Engineering
Mixing is the process of combining all recorded tracks into a final stereo (or surround) output. It’s where the engineer becomes part artist, making thousands of decisions about level, panning, equalization, dynamics, and effects.
The Core Tools
Faders control level — the volume of each track relative to the others. The mix starts with getting the basic balance right. Experienced engineers can get 80% of the way to a good mix with faders alone.
Panning places sounds in the stereo field — left, right, or anywhere in between. A typical approach: kick drum, bass, and lead vocal in the center. Guitars and keyboards spread left and right. Drums panned to match the drummer’s perspective (or the audience’s, depending on preference).
Equalization (EQ) adjusts the frequency balance of each track. Cut the muddy 200-400 Hz range on a boomy vocal. Boost the presence at 3-5 kHz to help a guitar cut through the mix. High-pass filter everything that doesn’t need low frequencies — including vocals, cymbals, and acoustic guitar — to reduce mud and free up space for the bass and kick drum.
Compression reduces the active range — making quiet parts louder and loud parts quieter. A compressor kicks in when the signal exceeds a threshold, reducing it by a set ratio. This evens out performances and adds sustain and punch. Used subtly, compression is invisible. Overused, it squashes the life out of music (see: the loudness war).
Reverb and delay create the illusion of space. A dry vocal sounds isolated and unnatural. Add a hall reverb, and suddenly the voice sits in a three-dimensional environment. Short delays (slap-back) add thickness. Long delays create rhythmic echoes. The skill is adding enough to create depth without drowning the mix in wash.
Mixing Philosophy
Every mix engineer develops their own approach, but some principles are nearly universal:
- Start with the most important element — usually the vocal or lead instrument — and build around it.
- Create contrast. If everything is loud, nothing is. If everything is wide, nothing has focus. Mix in three dimensions: left-right (panning), up-down (frequency), and front-back (level and reverb).
- Reference your mix on multiple playback systems. What sounds great on studio monitors might sound terrible on laptop speakers or earbuds.
- Take breaks. Ear fatigue sets in after 45 to 60 minutes of critical listening, and your judgment deteriorates without you noticing.
Live Sound Engineering
Studio recording is controlled and repeatable. Live sound is neither. The sound engineer at a concert has one chance to get it right, with variable acoustics, unpredictable performers, and feedback lurking around every corner.
The PA System
The public address (PA) system consists of the main speakers (front-of-house), subwoofers, monitor speakers or in-ear monitors for the performers, amplifiers, and the mixing console. Modern line array speaker systems hang clusters of speakers in vertical arrays, each aimed at a different section of the audience, providing even coverage across large venues.
Feedback Control
Feedback — that howling screech — happens when sound from the speakers reaches a microphone, gets amplified, reaches the speakers again, and so on in an escalating loop. It occurs at the resonant frequencies where the loop gain exceeds unity.
Engineers combat feedback by careful microphone placement, using directional mics, ringing out the system (identifying and notching out feedback frequencies with narrow EQ cuts), and using in-ear monitors instead of wedge monitors (which blast sound right back at the stage microphones).
Front-of-House vs. Monitor Engineering
At large shows, two engineers work independently. The front-of-house (FOH) engineer mixes what the audience hears. The monitor engineer mixes what the performers hear on stage. These are completely separate mixes with different requirements — the drummer needs to hear the click track and bass; the singer needs to hear their own voice above everything else.
The Digital Revolution
The shift from analog to digital audio, which accelerated in the 1990s, fundamentally changed sound engineering.
Recording moved from expensive tape machines to computer-based DAWs. A professional-quality recording setup that cost $500,000 in 1985 can be replicated today for under $5,000. Possibly under $1,000, depending on your mic choices.
Mixing moved from hardware consoles to software plugins that emulate classic analog equipment — compressors, EQs, tape machines — with remarkable accuracy. The debate over whether plugins sound as good as the original hardware continues (and probably always will), but the practical difference has shrunk to the point of irrelevance for most productions.
Distribution moved from physical media (vinyl, tape, CD) to streaming. This changed mastering practices: instead of optimizing for a specific medium, engineers now optimize for loudness-normalized streaming platforms, where crushing dynamics for volume actually makes tracks sound quieter after normalization.
Immersive Audio: Beyond Stereo
Two-channel stereo has dominated for 90 years, but spatial audio formats are gaining ground.
5.1 surround (five speakers plus a subwoofer) has been the cinema standard for decades and saw some adoption in music (DVD-Audio, SACD). It never caught on for mainstream music listening.
Dolby Atmos adds height channels and object-based mixing — individual sounds can be positioned anywhere in three-dimensional space, and the playback system renders the mix for whatever speaker configuration is available. Apple Music, Amazon Music, and Tidal now offer Atmos music. It’s a genuinely different mixing model, and engineers are still figuring out how to use it effectively.
Binaural audio simulates 3D sound over regular headphones using head-related transfer functions (HRTFs) — mathematical models of how your outer ear shapes sound from different directions. Done well, binaural recordings are eerily realistic. The limitation is that the HRTF is personalized to each listener, so generic HRTFs work better for some people than others.
Why Sound Engineering Matters
Every piece of audio you consume — every song, podcast, film, video game, phone call — passed through the hands (or algorithms) of a sound engineer at some point. The craft is invisible when done well, which is exactly the point. You’re not supposed to notice the engineering. You’re supposed to hear the music, the story, the voice.
That invisibility is what makes it both rewarding and thankless. The best engineers make everything sound effortless. Only other engineers notice the work — the careful EQ that made the vocal sit just right, the automation ride that kept the dynamics alive, the reverb tail tuned to the song’s tempo. It’s technical skill in service of art, and that combination is surprisingly rare.
Frequently Asked Questions
What is the difference between a sound engineer and a music producer?
A sound engineer handles the technical side — setting up microphones, running the recording equipment, mixing tracks, and ensuring audio quality. A music producer handles the creative side — choosing arrangements, guiding performances, shaping the overall sound and direction of a project. In practice, the roles often overlap, especially in smaller studios where one person does both.
Do you need a degree to become a sound engineer?
No, though formal education helps. Many successful sound engineers learned through apprenticeships, internships at recording studios, or self-study. What matters most is practical experience with real equipment and real sessions. That said, degree programs in audio engineering teach signal processing theory, acoustics, and electronics fundamentals that are hard to pick up on your own.
What is the loudness war?
The loudness war refers to the trend from the 1990s through the 2010s of mastering music at progressively higher levels, compressing the energetic range to make songs sound louder on radio and in casual listening. The trade-off was reduced musical dynamics and increased listener fatigue. Streaming platforms now normalize playback volume, which has reduced the incentive to master as loud as possible.
What sample rate should I record at?
44.1 kHz is the CD standard and captures all frequencies up to 22.05 kHz — well above the 20 kHz limit of human hearing. Recording at 48 kHz is standard for video production. Higher rates like 96 kHz or 192 kHz are sometimes used in professional studios to provide headroom for processing, but the audible difference is debated among engineers.
What does a mastering engineer do?
A mastering engineer takes the final stereo mix and prepares it for distribution. This involves subtle EQ adjustments for tonal balance, compression for consistency, limiting to set the final loudness level, sequencing tracks for an album, and ensuring the audio translates well across different playback systems — from earbuds to club speakers.
Further Reading
Cite this article
APA
WhatIs.site. (2025). What Is Sound Engineering?. Retrieved May 27, 2026, from https://whatis.site/sound-engineering MLA
"What Is Sound Engineering?." WhatIs.site, July 15, 2025, https://whatis.site/sound-engineering. Accessed May 27, 2026. Chicago
WhatIs.site. "What Is Sound Engineering?." Last modified May 12, 2026. https://whatis.site/sound-engineering. HTML
<a href="https://whatis.site/sound-engineering">What Is Sound Engineering?</a> — WhatIs.site Related Articles
What Is Acoustics?
Acoustics is the science of sound: how it's produced, transmitted, and received. Learn about sound waves, architectural acoustics, noise control, and more.
technologyWhat Is Digital Signal Processing?
Digital signal processing (DSP) manipulates signals like audio, images, and sensor data using math and algorithms. Learn how DSP works and where it's used.
technologyWhat Is Amateur Radio?
Amateur radio -- often called ham radio -- is a licensed radio service that lets individuals communicate using designated radio frequencies without relying.
technologyWhat Is Computer Hardware?
Computer hardware refers to the physical components of a computer system — the tangible parts you can touch.
technologyWhat Is Electronics?
Electronics is the science of controlling electrical current using semiconductors and circuits. Learn about transistors, ICs, and how electronic devices work.